
Installing an EV charger can be a complex process and should be done by a licensed electrician or a professional EV charger installation company. However, here are the general steps involved in installing an EV charger, let’s take Weeyu EV Charger as an example (M3W series):
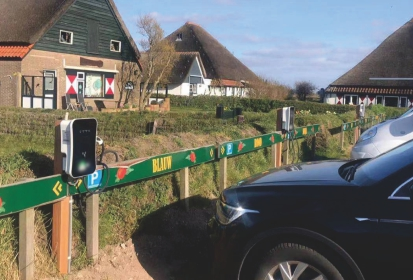
1 Choose the right location: The location of the EV charger should be convenient for the user and close to the electric panel. It should also be protected from the elements and placed away from potential hazards like water sources.
2 Determine the power supply: The power supply for the EV charger will depend on the type of charger being installed. A Level 1 charger can be plugged into a standard household outlet, but a Level 2 charger will require a 240-volt circuit. A DC fast charger will require even higher voltage and specialized equipment.Recommended power cable size: 3x4mm2 & 3x6mm2 for mono phase, 5x4mm2 & 5x6mm2 for three phase as following:

3 Install the wiring: The electrician will install the appropriate wiring from the electric panel to the EV charger location. They will also install a dedicated circuit breaker and a disconnect switch.
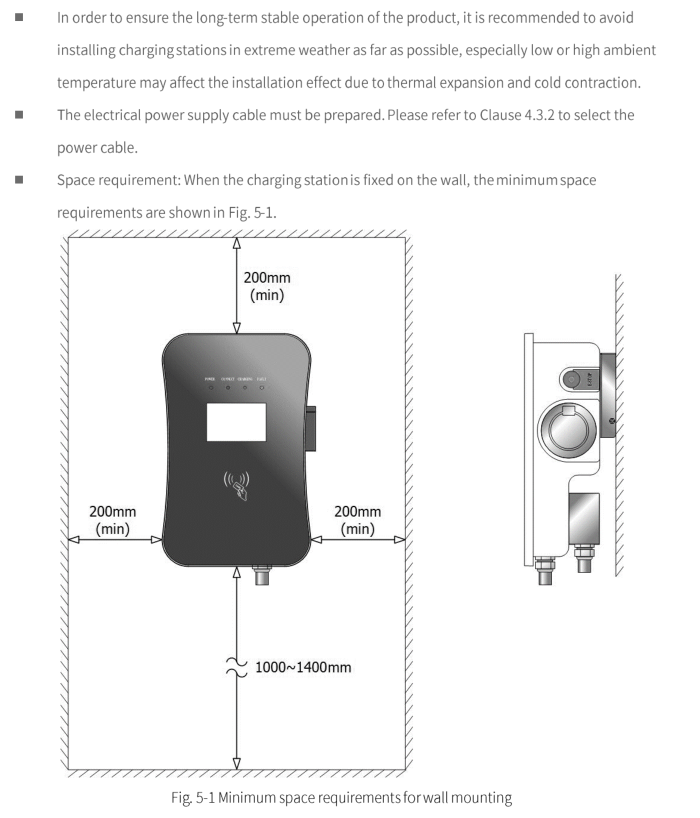
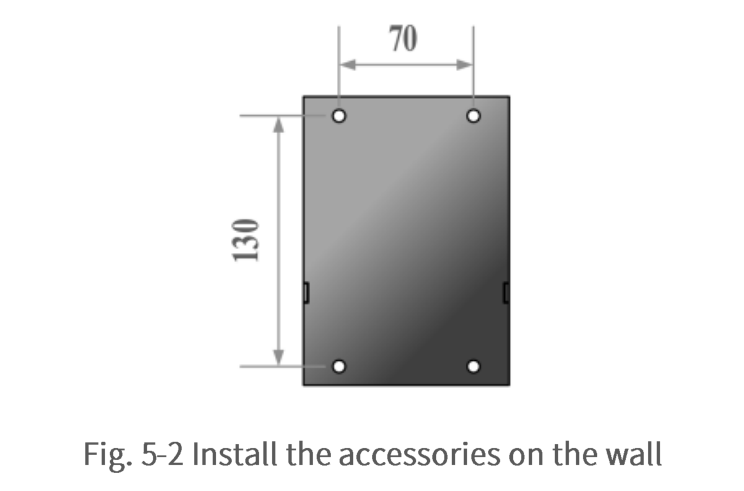
Step 1: install the accessories As the Fig. 5-2 shown, drill 4 mounting holes of 10mm diameter and 55mm depth at the appropriate height, spaced 130mm X70mm apart, and secure the mountingaccessories to the wall with the expansion screw which contain in package
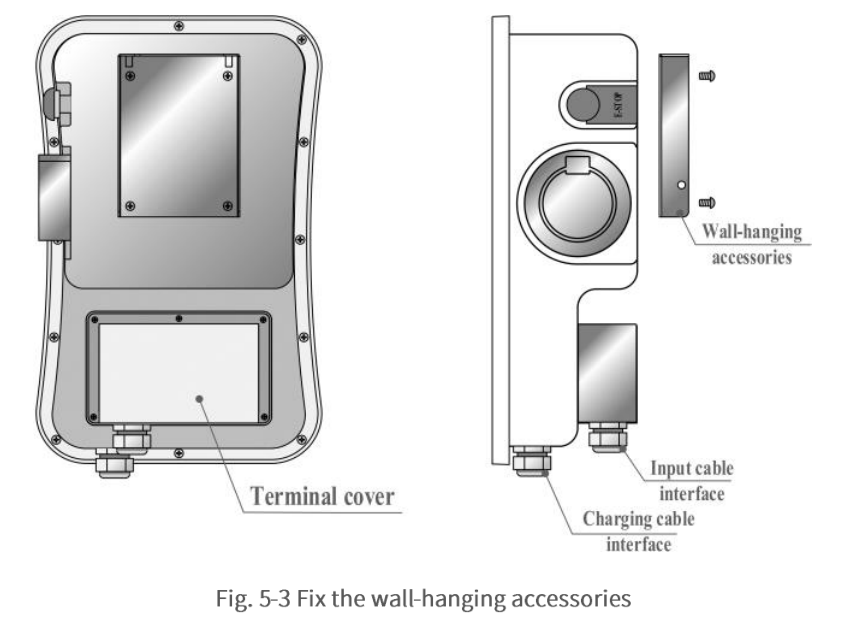
Step 2:Fixthe Wall-hanging accessories As the Fig. 5-3 shown, Fix the wal-hanging accessories on the wallbox with 4 screws(M5X8)
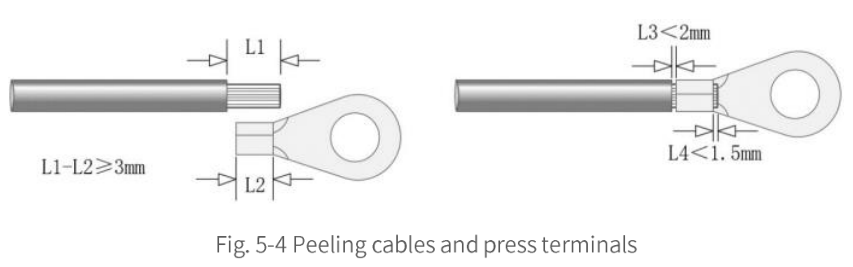
Step 3: Wiring As shown in Fig. 5-4, peel off the insulation layer of the prepared cable with wire stripper, then insert the copper conductor into the crimping area ofring tongue terminal, and press the ring tongue terminal with crimping plier. As shown in Fig. 5-5, open the terminal cover, pass the prepared power cable through the input cable interface, connect each cable to the input terminals according to the terminal label.
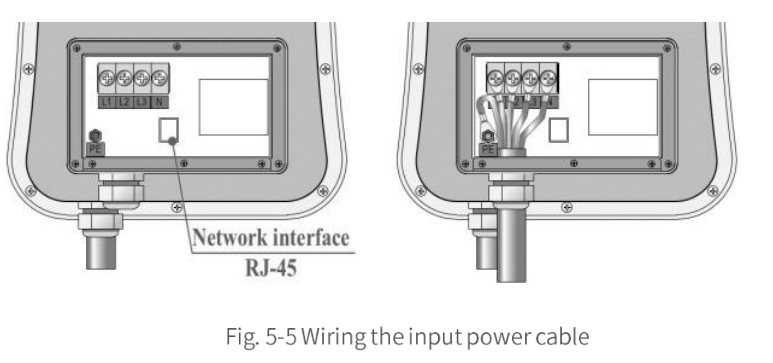
Reset the terminal cover after wiring the input power cable.
Note: if you need the Ethernet to connect the CMS, you can pass a network cable with RJ-45 header through the input cable interface and plug it into the network interface.
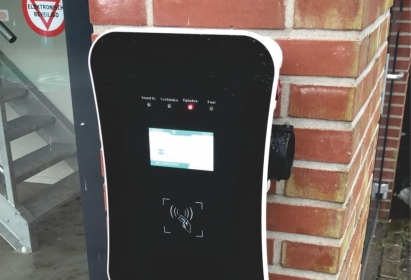
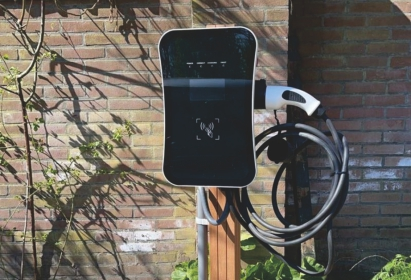
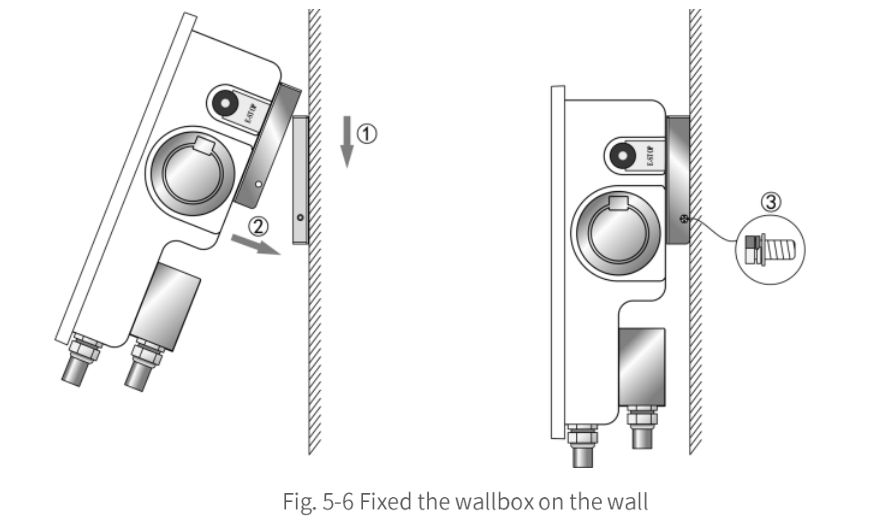
4 Mount the EV charger: The EV charger will need to be mounted on a wall or pedestal in a secure location. Fixed the wallbox As shown in Fig. 5-6, hang the wallbox on the wall hanging accessories, and then fix the locking screws on the left and right sides to complete the installation.
5 Test the system: After the installation is complete, the electrician will test the system to ensure it is working properly and is safe to use.
It is important to follow all safety guidelines and building codes when installing an EV charger to ensure proper function and safety.
Post time: Mar-24-2023